© Attainable Adventure Cruising Ltd and the authors, all rights are reserved.
Nothing on this website or in direct communications received from us, or in our articles in the media, should be construed to mean or imply that offshore voyaging is anything other than potentially hazardous. Dangers such as, but not limited to, extreme weather, cold, ice, lack of help or assistance, gear failure, grounding, and falling overboard could injure or kill you and wreck your boat. Decisions such as, but not limited to, heading offshore, where you go, and how you equip your boat, are yours and yours alone. The information on this web site is based on what has worked for the authors in the past, but that does not mean it will work for you, or that it is the best, or even a good way for you to do things.


For those turnbuckles that require 2 split pins for locking, use a piece of TIG welding rod as explained by Brion Toss in his Rigger’s apprentice book?
Hi Richard,
Sure, I have never tried it but it sounds good and Brian has great ideas. That said, I guess for those of us that unstep each year the rod would need replacing quite often, but it would be a lot easier to remove than a split pin.
We are using the 316 ss 3/32″ or 1/8″ diameter filler rod method of securing our turnbuckles on Helacious. It works very well, is totally out of the way and is easy to implement.
Hi Brian,
Thanks for the first hand report, sounds good.
Securing turnbuckles: I agree that split pins are just wrong, and I have the ankle scars to prove it! For 20 years I’ve had zero problems with a different method than described here: I tapped the hole at the end of each threaded stud and insert an appropriately sizes s/s cylinder head cap screw. The head is big enough that it jams on the inner side of the turnbuckle whenever the wire wants to loosen. To retune the rig I just use an allen wrench to remove all the screws, reinserting with a drop of tef gel when done. Clean!
Roger Neiley
S/V SoLunaMare
Hi Roger,
That sounds like a great system, and very elagant. I shall look at doing exactly that on our boat. Thanks.
If you tap threads in the holes in the turnbuckle studs be very careful when using a manual tapping tool. If, when cutting the threads, you overtighten the tool by even 1/4 of a turn, you can break the tool with the tapping part stuck in the hole. It took hours with a dremel tool to remove. I thought the first time was a defect in the tapping tool so I actually did this twice. It was such a painful experience that on my newer boat I went back to split rings.
Hi Mike,
Thanks for the warning, a very good point. As it happens, I too broke off a tap just a couple of weeks, resulting in a very frustrating afternoon before I got things sorted.
Hi John,
Interesting tip on the rescue tape. We carry it for other purposes and really like it (I once ran an engine for several hours with a ~30 psi rigid fuel line held together with it). How do you find it holds up to UV? We have a bunch of places where we keep tape permanently and can get about 5 years out of it.
The ring dings trick for turnbuckles is good, I switched over several years ago and am glad I did. Our new turnbuckles we installed this spring are constructed so that you can use a split pin and push it inside so we are back to doing that and there is no tape. Roger’s SHCS suggestion is really intriguing too although I would be tempted to use Loctite 243 or similar.
Eric
Hi Eric,
I have not been using reuse tape on deck for long enough to answer that definitively, but it seems to stand up as well as the purpose-sold rigging tape. My guess would be that 5 years would be a max life too.
Eric, what color is your sunlight-exposed tape? I’ve been using black on the assumption that dark colors will offer better longevity in UV exposure.
Chuck
Hi Chuck,
The tape that I use is white for no other reason than that is what is on the shelf at the store. It had not occurred to me to look into other colors but you are right that it would likely have an effect on lifespan.
Thanks.
Eric
Split ring pliers are a great help, and save your fingernails. I have this pair, https://www.amazon.com/gp/product/B000BL6OZ8/ref=oh_aui_search_detailpage?ie=UTF8&psc=1
Hi Keith,
I thought I had every tool known to humankind, and now you go bringing up another one! 🙂
Hi John et al,
I wrap a short piece of seizing wire a couple of times through the hole in the stud and around the turnbuckle body and bend the twisted together ends up into the body. It’s a neat, inexpensive, easy to remove, and snag free solution that I first saw on the mighty Fife schooner Adventuress.
Hi Wilson,
Sounds neat and seamanlike.
We have used this approach for 20+ years. It takes longer than a taped split pin but looks better. More importantly it avoids trapping sea water between tape and the metal.
I feel in good company to realize I’ve been doing some of these things for years (particularly the Rescue Tape, which saved my bacon last year when a mild steel pipe nipple cracked under the waterline; I’ve got a tackle box with a dozen little rolls) and the split-ring/cotter ring (the term around here) instead of the pin. But I do like the micrometer technique and the silicon daub is also great. And cheap. What sailor doesn’t like cheap? I’ve seen liquid line whipping used for this scratch-reducing purpose, but silicone in a tube is usually just loose-change cost and lasts a long time.
Hi John,
We replaced all the standing rigging on our Tayana 52 this past summer in New Zealand. One of the best innovations was the use of lock nuts, top and bottom on all the turnbuckles. We have only sailed about 2000nm since then but so far it appears they work exceptionally well, bot a single one has loosened and there is no need for any tape. It is true they cost much more than split pins or rings but they seem to save everything like sheets and shins from getting caught.
Larry Green
S/V Cailin Lomhara
Hi Larry,
That’s interesting since I remember small turnbuckles with lock nuts being available some 50 years ago, but since I have not seen them or at least not for larger boats. But then NZ is always a hot bed of good ideas.
Larry
The reason locknuts are not more common on rigging screws may be due to their tendency to loosen under tension. The lock nut works if there is enough friction between the nut and the body of the rigging screw for them act as a single unit, but slightly out of phase on the threaded section. If this is the case neither the nut nor the body of the rigging screw can rotate and the system is locked.
However unless the rigging screw is considerably oversized, the threaded section may stretch enough when loaded for the lock nut and the body of the rigging screw to lose contact with one another. The nut can then rotate independently of the rigging screw body and the locking system fails.
It is easy if this is happening on your rig. After tightening all lock nuts at anchor, put the vessel hard on the wind in a fresh breeze and see if the windward locknuts are still tight. If they can be undone using ½ or 2/3 of the force used to tighten them initially, the system is suspect. It’s depressing how often the nuts that were sweated up by the biggest gorilla in the crew before sailing are only finger tight when thrashing to windward.
Hi Trevor,
That makes a great deal of sense and something I should have thought of, thank you. As Eric Klem taught me not very long ago, any material must distort to absorb load, and therefore, now I think about it (after you excellent comment) that would probably make lock nuts a poor solution.
Hi Trevor,
Thanks for the very informative comment. I am not certain on how much oversize the rigging screws might need to be to alleviate the stretching issue when under load, but the rigging screws on the shrouds are 20mm and the wire is 12mm. After the 1300nm passage north from NZ to Tonga, sailing virtually all angles for different periods of time, we checked the entire rig and all the locknuts are as tight as when the rigger tightened them.
The first time I saw them was on an Australian boat that recently crossed the Tasman Sea hard on the wind all the way from Australia with no problems.
The locknuts my rigger used are not plain flat nuts, but cone shaped much like a Nylock nut. They may have the added advantage of keeping salt from accumulating on the top of the turnbuckles helping to minimize corrosion, though only time will tell on that issue.
Based on your comments I will keep a sharp eye on their behavior and report back on any issues that may occur.
Larry
It is essential to check the tightness of the lock nuts while sailing close hauled with enough wind to stress the rig to near its maximum. Checking their tension after a passage only tells you the nuts have not yet moved. Even if the lock nuts were completely loose while beating to windward and therefore doing nothing to lock the rigging screw, they will revert to their original tension as soon as sail is taken off, always provided the lock nuts have not moved in the interim.
There is a real chance that your lock nuts were doing nothing to prevent the rigging screw from unwinding while the rig was working, even though they are doing a fine job when the rig is at rest. If this is the case they will eventually work loose when the rig is under tension and let the rigging screw slacken off – this is not just speculation, it has happened to me.
Cheers
Trev
Trevor makes a very good point that for a lock nut to be effective, it must be torqued so that its preload is greater than the load on the fitting. The threaded shaft is typically the least stiff item in a system so as load increases, it acts like a spring, just a very stiff one (as John points out, you have to deflect to carry load). If you torque a locknut to 1000lbs of preload and then pull on the shroud with 500 lbs, you will find that the load on the locknut has dropped to 500 lbs. At 1000lbs of shroud load, you will have 0 load on the locknut and at higher values, a physical gap will start to open up.
The relationship between torque and tension is fairly predictable although not super exact as the k factor can vary. However, this relationship falls apart a bit when the length of the bolt under tension is super short as is the case with a lock nut (this is why when you break one free, as soon as it moves it immediately becomes easy to spin whereas long bolts maintain tension over much more rotation). Trevor’s suggestion to tighten the locknuts when max tension is on the rig is one good way of dealing with this. There is another way that makes sense in some circumstances and that is to insert a spring in the system that has a lower spring constant than the stud. Practically, this is done by using a belleville washer under the locknut or a domed nut. This is not what I would do here but it is worth knowing about as there are applications where it is the only good solution.
One interesting related side note to all of this is that the reason many bolts are not subject to fatigue is that when they clamp a rigid joint, they are the least stiff thing and as long as their preload is high enough that it overcomes all external force, the load on the bolt itself never changes. In the case of rigging, it is not a rigid joint and therefore the rigging screws need to be upsized to account for fatigue. In a rigid joint, we would typically try to set the tension in the bolt at 75% of the yield strength of the shaft (there are 4 factors to check when actually doing this) because there is no fatigue. However, in your rigging screws, they are at less than 33% because it is not a rigid joint. If you torque up locknuts so that their preload exceeds the rigging load, then you will keep that section of the rigging screw from being subject to cyclic stress so even though its stress is higher, the fact that it is constant makes it acceptable. The components in the rig can tolerate cyclic stress because they are designed so that the stress is below the fatigue limit (for many materials, there is a stress value which if you stay below, you will never have fatigue) but that requires much larger components.
Eric
For fixating turnbuckles I use Blue Wave Smart Pins – pins with velcro. 2 years now – they look and work like new.
Hi Taras,
Yes, I have seen those and they look very neat. Glad to hear they work well.
We have been using something similar on the race boat for years and they work great. I think we are on the second set in 10 years. Quick to take on and off to make small adjustments when tuning up before a race. They do not snag lines. I had not considered using them on the cruising boat because we rarely if every adjust the rig for the conditions.
Just to comment on important of fixing turnbuckles.
After changing to new lifelines (from covered with plastic to pure 1×19 stainless) I went on sailing in a near gale for a day. I did forgot to secure the turnbuckles.
On arriving back in marina, one side of lifelines was completely slack, while the other side lost the turnbuckle.
Hi Taras,
A sobering experience and warning we can all learn from. Thanks
Hi Taras,
Boats can be so humbling! It is so easy to neglect a small, but crucial chore: I am glad the lifelines were un-needed.
I have also swapped the plastic covered wire for uncovered wire. This allows for greater lifeline wire diameter, greater strength and easier inspection. I have slipped some of the split plastic shroud protectors in strategic areas for chafe protection such as where the jib sheet sometimes rests on the wire.
I have never liked turnbuckles on lifelines: in part for all the reasons being discussed for securing them, but also, they always looked like a weak link. Decades ago now, I replaced them all with lashings.
Lashings are preferred by me as they do the job, have ample strength, allow easy adjusting of lifeline tension, give early warning of any problem, and do not snag on anything. But their greatest benefit may be that they could make a COB recovery much faster and easier as they can be easily cut away and dropped to the deck: getting a wet soggy crew with inflated life vest to deck level would be much easier than up and over lifelines or even trying to squeeze him through the gap in the lifelines.
In 2+ decades of use, I have never had any trouble using lashings.
Below is how I do the lashings: probably more than any reasonable person wants to know.
My best, Dick Stevenson, s/v Alchemy
From memory: I used a continuous line of 3- or 4-mm yacht braid polyester and lashed the lifeline with 3-4 loops (6-8 lines) finishing off with a few half hitches and then covered this with the same continuous line 5-6 loops again finishing off with half hitches again and burying the end. There are essentially, in this way, 2 lashings, the inside one well protected from UV. In an emergency, there is always a nearby knife to quickly cut the lashing and drop the lifeline to the deck.
Hi,
My experience of locknuts is of those with a nylon insert, where the locking action comes from the friction between the nylon and the screw thread. I use them in many places, but not on my rigging. Wouldn’t they solve the problem of stress elongation? There may be practical difficulties of different materials (eg bronze/stainless steel) and correctly matching threads, and they can only be re-used a certain number of times. Just a thought.
?
Regards
Bill
Hi Bill,
Unfortunately, while the nylon insert keeps the nut from spinning when the preload is overcome, the end goal of locknuts is to lock the turnbuckle and if they loose their preload on the turnbuckle, they lose their purpose even though they themselves are unlikely to spin.
Eric
Greetings from Rockport, Maine
I was the rigger at a local boatyard for more years than I want to remember. I still help out when called but age is against me. I read you rigging articles with care.
I’d like to submit an idea that I have used for many years on my own boat, including two recent transatlantic crossings and a winter in the tropics.
Double sided Velcro with a short SS cotter pin stitched and a dab of epoxy to hold it in place. Available at Home Depot
Another way to secure turnbuckles is with a #6 or #8 round head machine screw tapped and threaded into the ends with an acorn nut to lock it in. I’ve not seen bronze acorn nuts for a while and I don’t like brass at sea. So SS is the only answer here. But not for me in bronze turnbuckles. The above is a lot of work but looks nice being tape free and will not snag Sails and skin.
Dbl. sided Velcro with a short cotter pin for turnbuckle body pin
Velcro with pin inserted. Smooth and snag free.
I use tape ( Brown on bronze turnbuckles) to keep sunlight off the Velcro . Always cut the tape with a knife or scissors. The stretch to break method will not adhere for very long and look awful for most of the season. This tape over the Velcro was installed in May 2017 and is still going strong 15 months and 10,000 Miles later.
Tom Kiley
CCA
OCC
Hi Thomas,
That sounds like a good method, and for those who don’t wish to make their own velcro gadget, there is a pre-made option available, see Taras’s comment further up.
Also, a good tip to use tape to keep the sun off the velcro.
And finally, I have often just pulled and broken self amalgamating tape. It usually stays stuck, but not always, and there are few things worse looking than a tape end flapping in the wind. I will cut from now on. Thanks
Hi Eric
Thanks for the answer, but I would appreciate your further thoughts. Apologies for using you as a free teacher.
?
My assumption is that the stress of the rigging is distributed along the threads of the two screws sitting inside the barrel, and I suppose in the the barrel itself – more or less evenly or perhaps highest near the outside ends? What I am unable to understand is why the locknuts aren’t pulled more tightly against the locking surfaces, rather than becoming loose. I hope I haven’t embarassed myself with a fundamental misunderstanding.
Yours aye
Bill
Hi Eric.
I have embarassed myself. Just read your earlier detailed comment on the engineering of lock-nuts. I also have a problem that the last thing I do with a new piece of kit is to read the manual.
Yours aye
Bill
Hi Bill,
No worries, I am happy to try to contribute where I can here. Good bolted joint design is something that even a surprising number of mechanical engineers do not follow. Luckily, there are a bunch of good rules of thumb that are pretty easy to back up with calculations.
To your comment on distributing the load across the threads, it is not distributed evenly, the threads closest to the load carry more in most cases due to the deflection of the bolt (this isn’t true if the bolt is stiffer than what it is mating to but that is rare). With coarse threads where the materials are the same, a good rule of thumb is that the first thread takes about 1/3 of the total load (3 coarse threads are generally capable of full load but we try to design to 5 or more in this case). If you make the bolt a stronger material and torque it up proportionately more, you will yield the first thread(s) in the tapped side. This yielding is a way of the part stress equalizing itself so that more threads share the load and usually isn’t a big deal because it has yielded so little before the other threads carry enough load to stop the process.
I hope that I haven’t strayed too far off the original intent of this post.
Eric
Hi Eric,
Just to reassure you about “straying”. Not at all, I find this kind of of information both fascinating and very useful, both for future posts, and day to day as I maintain our boat. As always, thank you for taking the time.
Hi John,
Soon going to put the mast back on deck, I was looking at the picture of your first hack and had a doubt about the way to attach the forward clevis pin of forestay and cutterstay.
Your picture shows a downhaul attached to the upper swivel that is resting on the sail feeder in the profile. Are you sure this is made to sustain a load of that sort. Facing downward?
Thank s again for all your great advice by AAC.
Denis
Hibernia II HR46
Hi Denis,
Hasn’t broken yet. 🙂
Seriously, that feeder is relatively beefy, but if you are not sure, just use a double rolling hitch on the foil just below the feeder. That will transfer all the load to the torque tube.
Great list! I’ve been using ring-dings wherever possible, and I’ve been using a hot glue gun to dab the ends of split pins when shore power was available. Silicone seems like a great hack!
I would quibble with you about coiling over your arm, though. The problem isn’t the arm. It’s that some people seem to think coils should be round, but this introduces a twist into the rope on every pass. I guess coiling over your arm makes it too easy to add that evil twist as you lay the rope over your arm? I coil over my arm in figure-8s (pass the rope away from you over your hand _and_ away from you over your elbow, so the rope crosses itself over your forearm). I haven’t poured a hundredth as much of the ocean out of my boots as you have, but I think the principle is sound and it’s worked very well for me for decades… have you encountered this technique and found circumstances under which it fails?
Hi Ben,
I also haven’t poured that much water out of my boots, but that might be because my boots are water tight, or that I rarely use boots when sailing. 😀
I use your figure-8 coil on the arm method for relatively thin lines. Works great. When the coil is done, I fold it double and lock it by pulling the tail in a bend through, then fold that bend over and around both parts, tighten, and usually repeat once. This method keeps even the most unruly lines tidy even after being tossed around.
For properly thin lines of limited length, I use the exact same method, but instead of the hand and elbow I use the thumb and little finger. Also very robust. Thin lines tend to be more eager to tangle, so normal coils just don’t hold them in place well enough. The figure 8 not only removes twist, but forces each line to follow a certain order for each round. Pretty fool proof.
For normal ropes, though, I don’t like this method. Even a fairly short rope gets too bulky. There is only one method allowed where I’m the skipper:
The method is well known and probably has a name, but I don’t know it: The loop is laid in the hand, alternately on either side. The rope goes out of the hand on one side, then comes back up on the same side of the hand, then the same on the other side, etc. The result looks like a normal coil, but it’s fundamentally different and gets zero twist. If it’s a big or very long rope, doing the same over the neck helps.
Hi Stein,
The coil that you mention in the last paragraph is often referred to as a butterfly coil. It is my most common coil to use on braided line, there are other coils that do not impart twist but the butterfly is generally the fastest and easiest.
Eric
I have been through most of the ideas below. On my latest boat I went with split pins, also known as cotter pins. I have UV resistant PVC pipes that slide over the turnbuckles. They prevent damage to people and lines caused by sharp split pin ends.
We are in a slip opposite a breakwater in Tel Aviv harbour with a thousand or more mile fetch so we often get drenched in very salty spray.
The PVC pipes are split so that they can be installed without opening the turnbuckle. The top of the pipe has soft foam stuffed in the top to keep out spray and dirt.
The swages at the top of the turnbuckles are most likely to fail first, so by protecting them, hopefully their life will be longer.
I would have used mechanical connectors at the turnbuckles but the local insurance companies see them as a high risk which invalidates the insurance.
Pretty primitive.
And then there are the local surveyors who promote the myth that standing rigging must be replaced according to the mm diameter of the wire. 10 years for 10mm, 8 years for 8mm etc.
Hi Jack,
Sounds like that would work. That said I guess I prefer to be able to easily see my turnbuckles for quick inspection. I would also worry about the soft foam in contact with the rigging parts since stainless steel actually deteriorates faster if deprived of air. As to the surveyor’s position, I have never heard that one before, but then again I have long stopped being surprised by stupid stuff surveyors and insurance companies say.
That said, 10 years for any wire is probably a good rule of thumb.
I was looking for Whip Before Cut as linked by Facebook. Had trouble logging in and renew and newer found the article. Not convenient.
Hi Allan,
Thanks for the input. Let’s see if I understand:
I assume you followed the link in the FB page fine to the tip? Is that right?
So was the problem that you did not immediately find the how-to on whipping in the above post?
If so, I should, and have, added “scroll down to #6” to the tip. Does that solve it?
Please clarify if I have that right.
Messenger line safety hack
Hi all,
For those who take their running rigging lines out each winter: as I do and recommend for a wide variety of reasons, I have the following suggestion.
I have never been happy watching the light messenger line blowing about in the high winds that occasionally occur: it just looked like a recipe for somesort of mischief.
A few years ago. I started twirling (like a barber pole) the messenger lines around something solid (jib and staysail furlers foils, a shroud for the flag halyard, etc) on their way to the deck. This keeps them very well behaved and far less likely to part or to jump of its sheave.
And since then, I have read but forget where (perhaps here), that a twirling protrusion causes less build up of pressure on the object twirled around which is why some tall chimneys have a twirling protuberance of some sort: any engineers out there care to comment?
My best, Dick Stevenson, s/v Alchemy
Hi Dick,
That sounds like a great hack. Two birds with one stone if you take it around the head stay roller furler. Thanks
You might find some interesting ideas using this Google search:
flaking rope belay multi-pitch climb
A common operation when climbing multi-pitch (more than one rope length) routes is coiling 70 meters of rope, using only one hand, while standing on nothing, with no floor, and tangles are just not an option (since you are belaying a climber a the same time). Many tricks, but none of them involve coiling the rope over your elbow (a pet peeve of mine too). You might think you could just let the rope hang down, but it will surely snag on something. If you are lucky enough to have a nice ledge, most likely you will just flake it down … but if it falls off you are completely screwed.
Hi Drew,
The stuff climbers do with ropes in precarious places never ceases to amaze me.
Hi, a somewhat related question: When I tuned the rig on my OVNI, it started vibrating/resonating in the wind when on anchor. It starts at fairly low wind speeds, and I can’t tell exactly where in the rig it is. I can sometimes feel some vibrations in the shrouds. It sounds like a motorboat approaching a couple hundred meters away, so not super loud, but pretty annoying still. Is this a problem you have experienced or have any tips on a remedy?
Kind regards, Arne 🙂
Hi Arne,
I answered this in a tip: https://www.morganscloud.com/jhhtips/stopping-rigging-hum-q-and-a/
For others, please add your suggestions there.
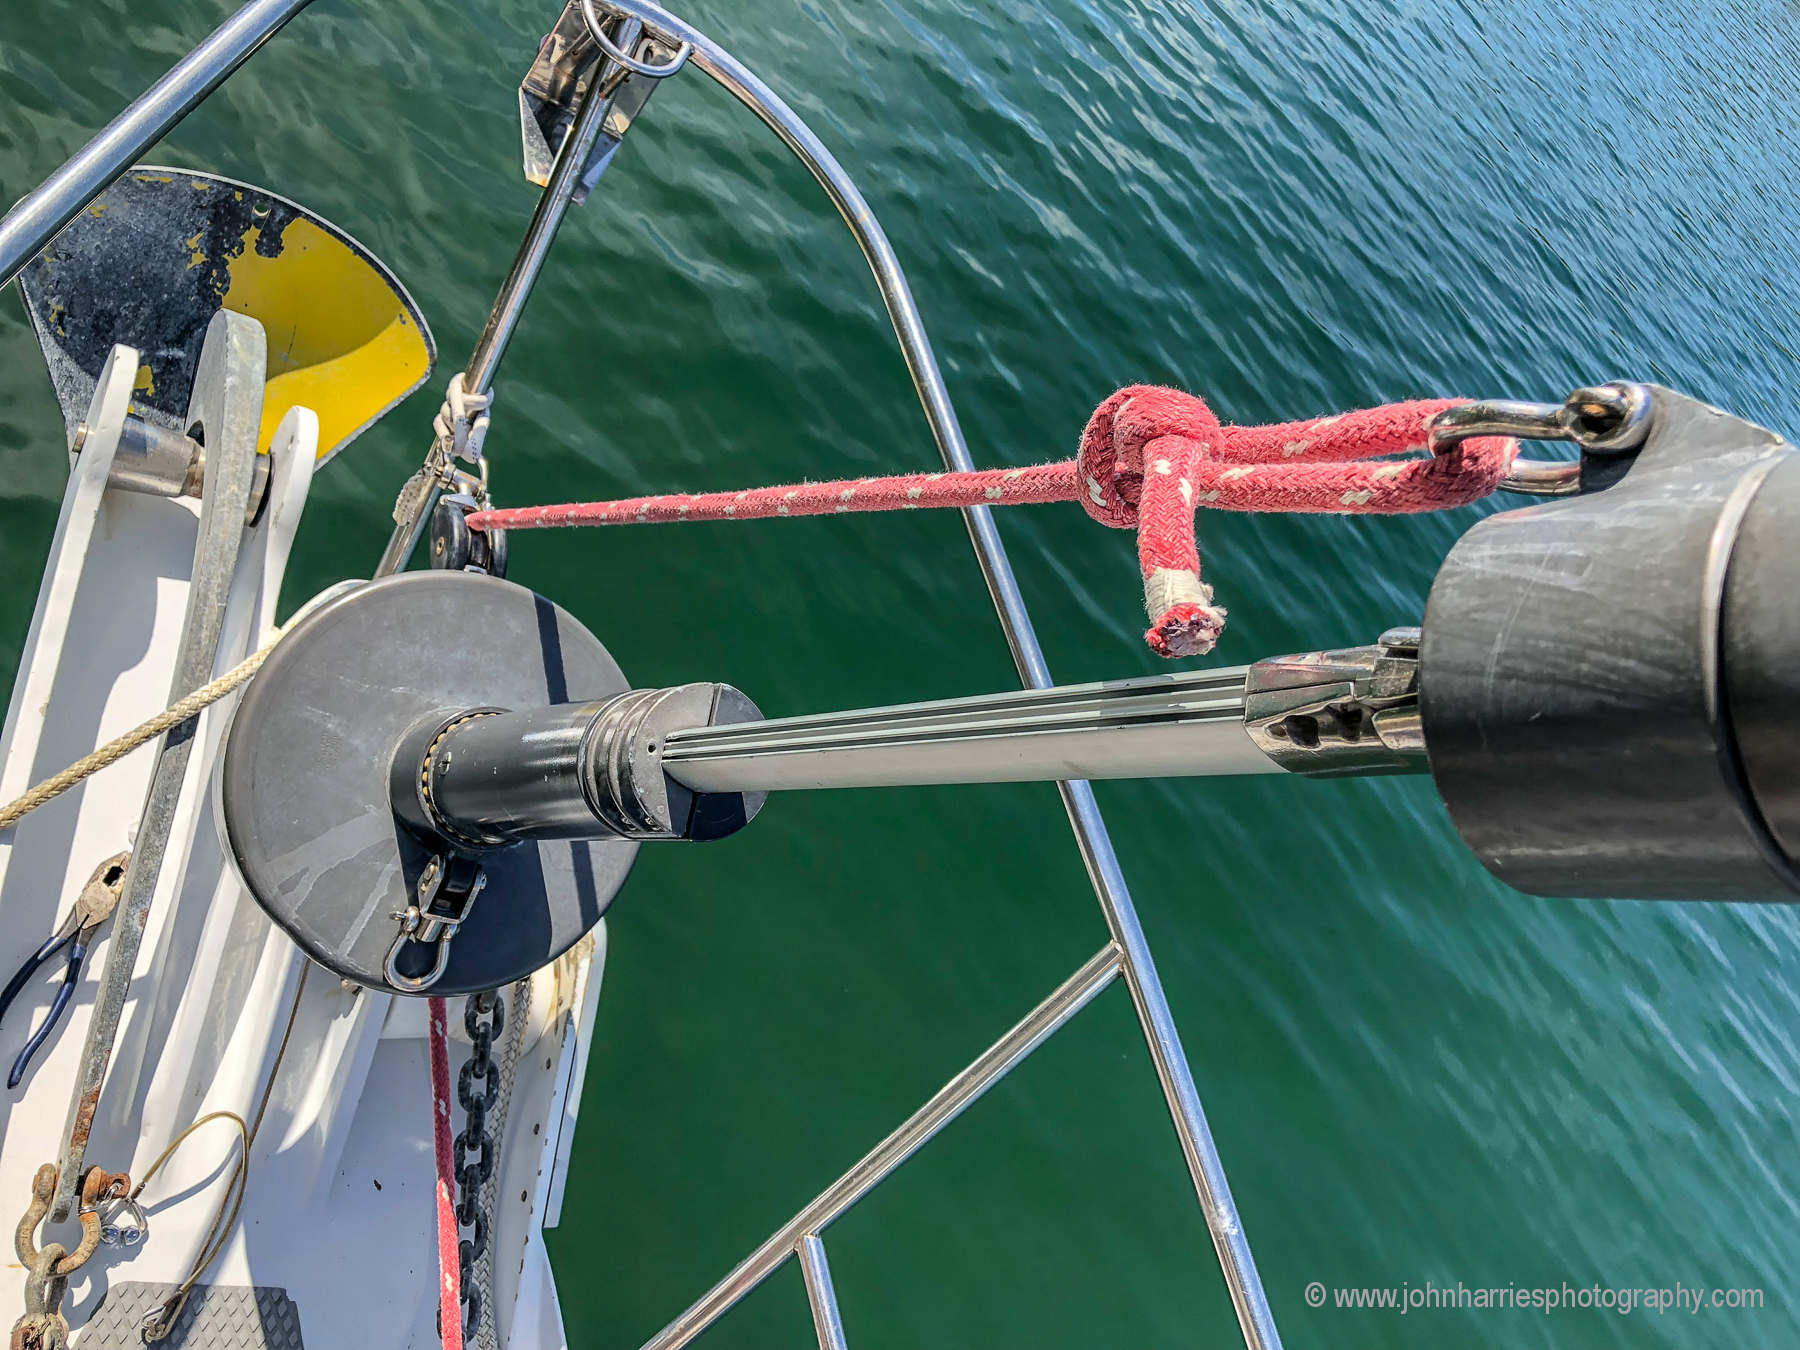
Sieze Shock Cord Loops: John can you provide some additional photos as to how you join the shock cord together before seizing? Also, I mark the ends of my turnbuckles along the screw threads with bright nail polish each fall so I know where to replicate my rig turning.
Hi Stanley,
I updated the tip with detailed instructions.
My #1 rigging tip: Close to miraculous is the convenience and added safety factor provided by having Kiwi slides fitted on the headsails on our S&S 34.
With a gate in the furler extrusion a meter or so above the tack, this allows a headsail fitted with these slides to drop and flake like a mainsail, so it can be quickly bagged and removed shorthanded, even in a breeze, without the sail billowing out of control.
An added advantage is that it facilitates easily changing down to smaller jibs when conditions warrant, once roller furling the larger headsail takes it down to a size where it no longer has an efficient shape.
And it’s easy to keep it a second headsail bagged and its Kiwi slides loaded into the second extrusion in anticipation of that sail change, just as we keep the trysail bagged and loaded in its separate track.
Jan Waldin
s/v Marianne of Lorn
Hi Jan-Paul,
That’s a great tip, and one I had not thought of, thanks. I particularly like the idea for a roller furling staysail on a cutter where both that sail and the storm jib could be fitted with the kiwi slides making the change much easier and safer.