
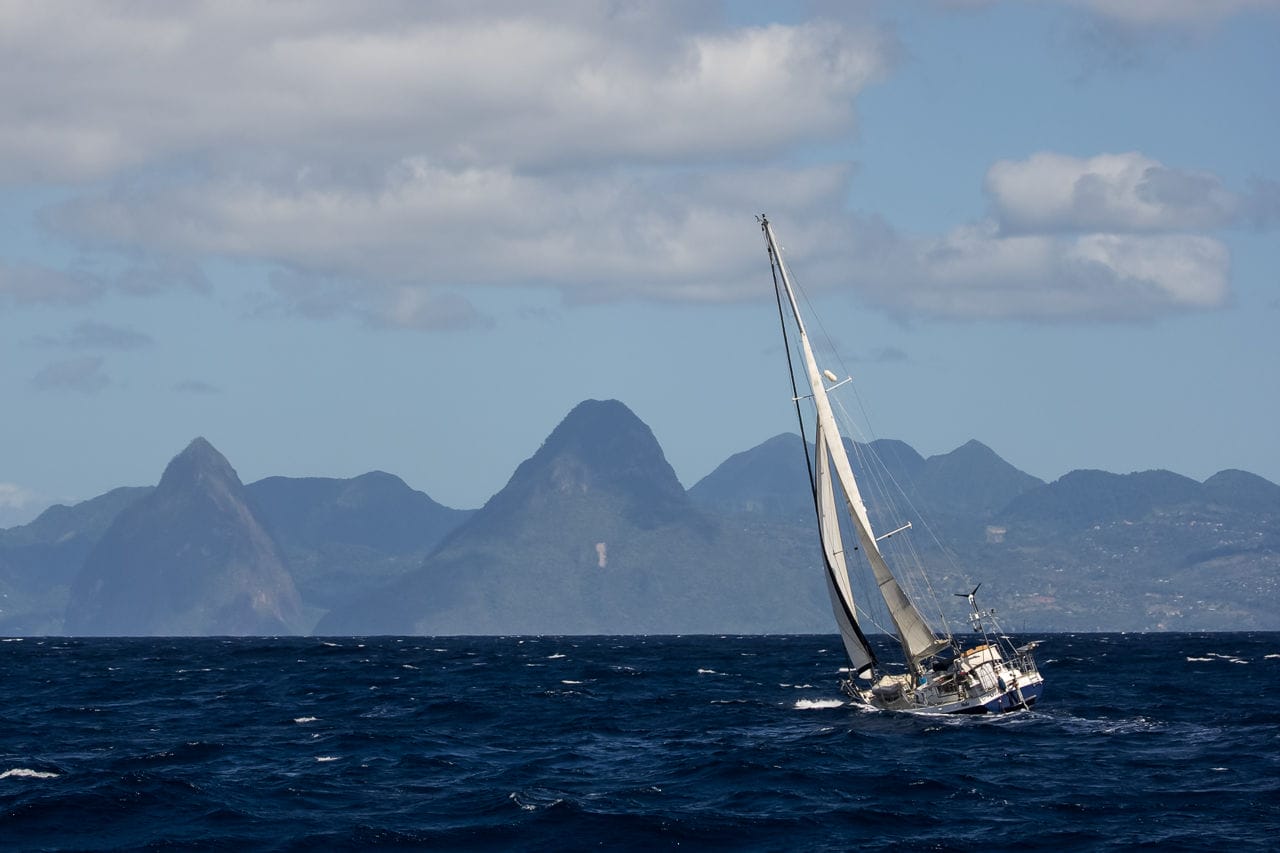
As I think I’ve made clear in the previous two articles of this series, keeping the water out is a number one commitment for any offshore boat.
And not just large amounts, although obviously that’s a fundamental priority, too. Relatively modest amounts of water can cause real issues with sensitive electronics, especially in today’s shallow bilged boats, where even a small quantity of salt water can find its way out of the bilges and into the switch panel in the event of a knockdown, which has happened to me. And many small leaks come from seemingly innocuous places—above the waterline and on deck.
Ventilators
There are few more elegant, simple, timeless pieces of brilliant design than Olin Stephens’ dorade vents. Of all of the possible ways to ventilate your boat in all weathers without admitting water into the interior, these have still yet to be beaten. However, that does depends on the builder following the original design to the letter, especially in regard to the internal pipe, which should stand well above deck level, within say 1/2” of the underside of the outer casing. Anything less is likely to admit water, in my experience.
Flying headsail sheets will often whisk an unprotected cowl from a foredeck dorade, whilst the current trend towards mainsheet travellers mounted ahead of the companionway, means that a slack mainsheet can snag on coachroof mounted vents. Some form of protective cage is needed to avoid this happening, and if you’re building in metal, it’s easy to fabricate and weld on a simple, leak-proof structure.
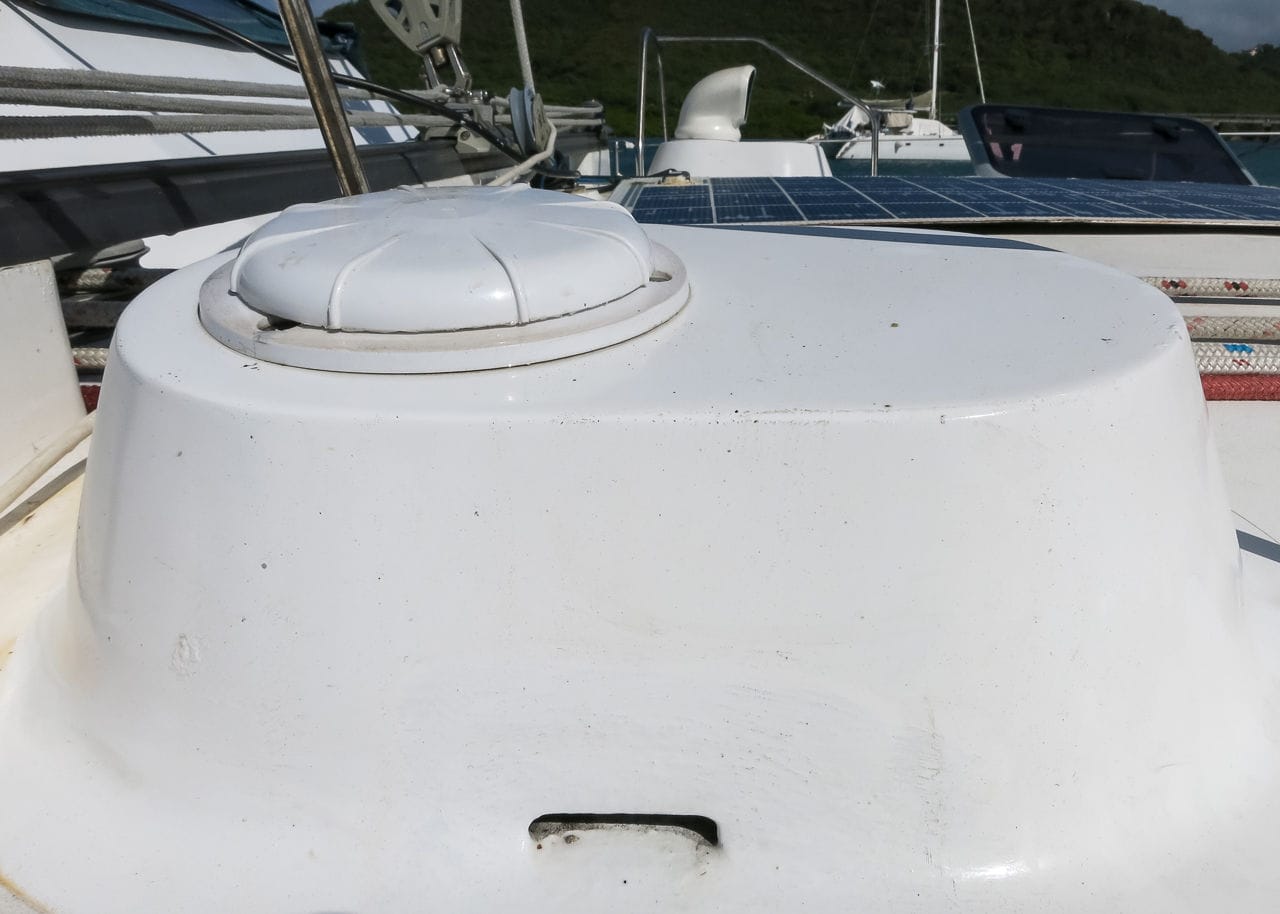
Most dorades these days use a proprietary screw fit cowl, and these should be equipped with storm caps for use in really wild conditions. To be honest, we’ve never even once considered fitting our storm caps on Pèlerin yet, as she is extremely dry on deck even in wild conditions, but I do know from previous bitter experience what a pain they can be to fit. This is due to the shallow plastic thread employed to attach them, and it’s the easiest thing in the world to cross thread a cap, giving the false impression that they are solidly attached, when that’s just not the case.
Bearing in mind that it might be dark, or you may want to get off the foredeck quickly, it pays to attach dorade storm caps sooner rather than later if you think you may need to, and be very careful to check that they are correctly threaded. And as with the cowls, always carry at least one spare storm cap.

An alternative option is available from Vetus, which allows the vent to be closed off in bad weather from below, by using a mushroom cowl on a threaded bar and insert. These units also have the advantage that they have a built-in mosquito screen mesh. They are available with stainless steel or plastic dorade boxes, with the stainless boxes being far more robust and so more suitable for offshore use, and they are a neat option, especially if space is limited.
Having used them extensively, in my experience they do have some limitations, in that the screw threads need to be kept well greased to avoid them seizing, the mosquito screens clog over time (and the whole lot needs to be dismantled to clean them), they admit a lower amount of airflow in normal conditions, and I’ve had more water enter via them than with any conventional dorade vent, which means closing them down earlier.
Wiring conduits
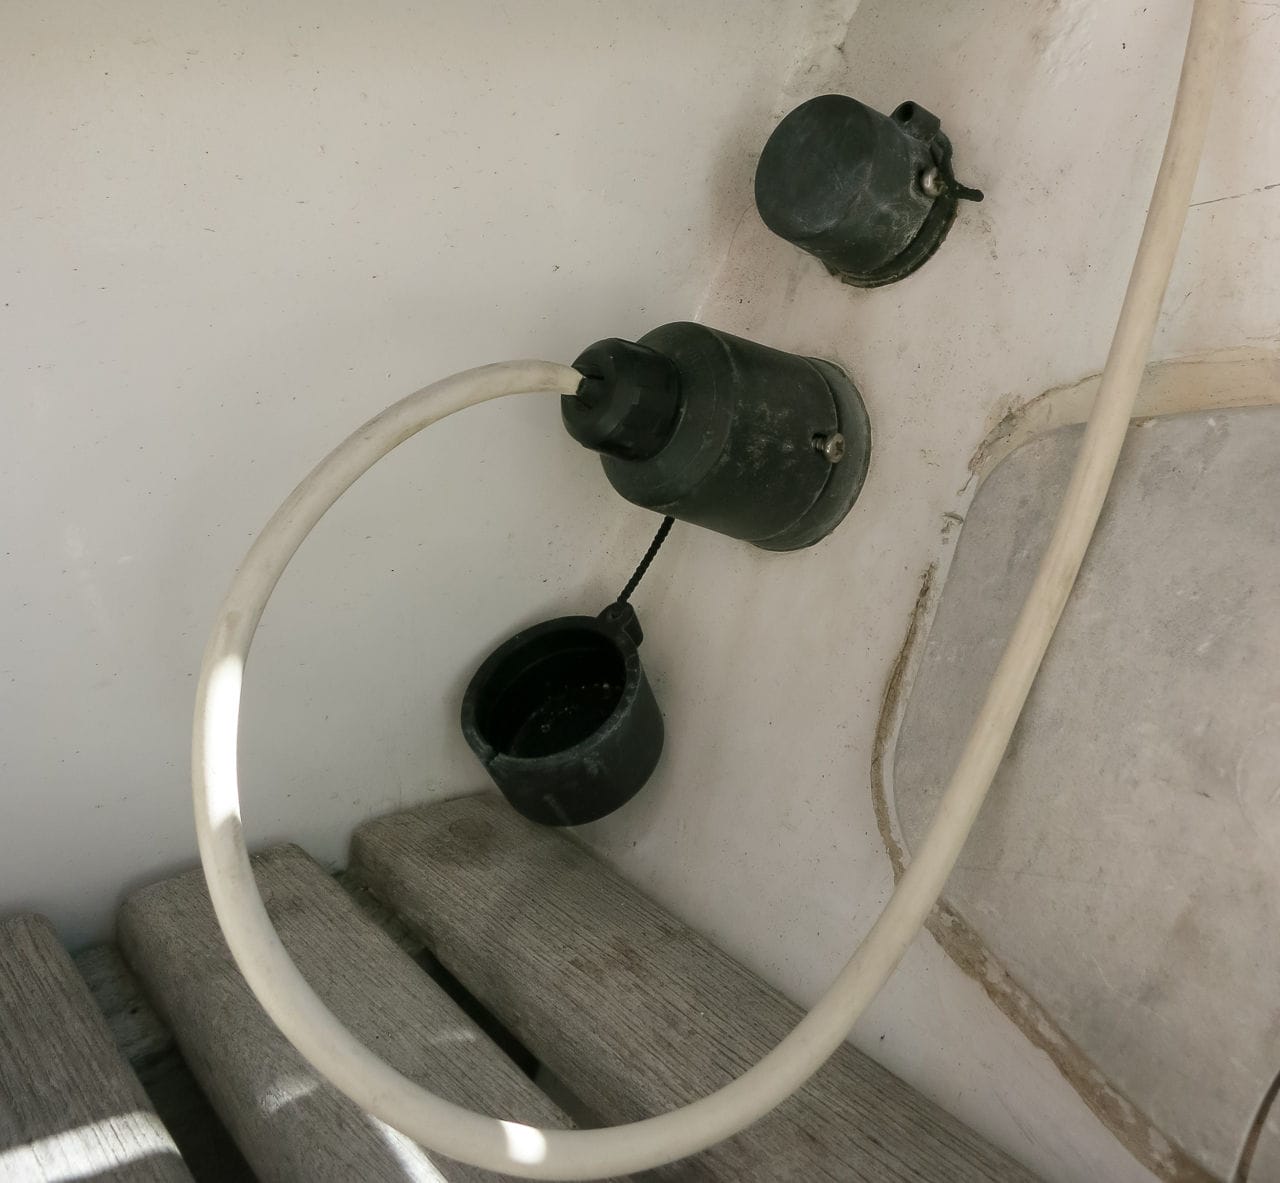
We’ve become so used to the extensive range of electronic equipment on modern boats that it can be easy to forget that it has all got to find its way below deck somehow. Radar, AIS, VHF, SSB, all have aerials with significant amounts of cabling; then start adding satphones, TV antennas, and so on, and you’ll soon have a forest of wiring to secure and make watertight.
Good quality deck plugs are definitely worth investing in. Some are more effective than others, and I’ve had good results over the years with Dri-plug glands. We use these for dismountable connections for the wandering solar panels we use when at anchor, our high power searchlight, and hydro generator. It’s a good idea to mount these where they have as much shelter as possible from flying water to avoid testing them too thoroughly, and to protect them from size 12 feet stomping on them during a tack!
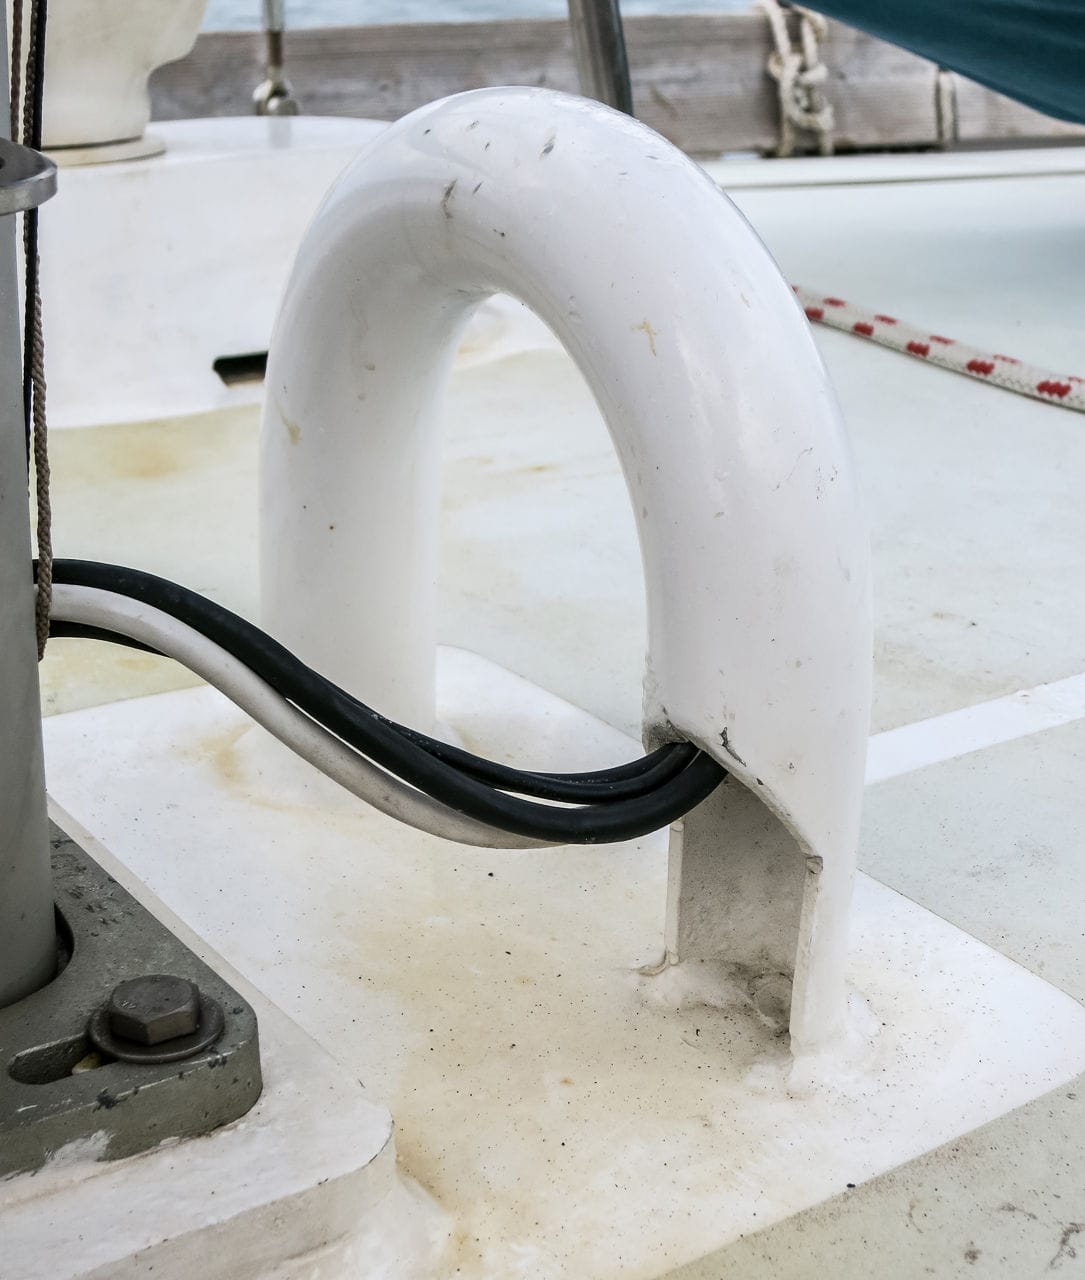
Much of the cabling will obviously exit at the mast, unless, like us, you have an arch that carries most of your aerials, radome, and wind generator. For those with lots of mast cabling and deck stepped masts, a swan neck fitting carried well above deck level (say 6’ minimum), is the best way to go here, with all wires carried through it to a waterproof junction box below; having joints in cables above deck is an exercise in disappointment, even if it does make it easier to remove the mast at haul out time.
Mast gaiters
The current trend with designers and builders is away from keel stepped masts, which has removed at one stroke one of the perennial causes of leaks at deck level. And whilst it’s true that vast improvements have been made in ways of securing and sealing the gaiter around the keel stepped mast such as Spartite, water always seems to find its way in somehow, through holes in the mast and sheave boxes that allow water to run down inside the mast, for example.
I spent days working on my old keel stepped mast, only to add more sealant on top of sealant, and still was unable to make the darn thing watertight. Replace the gaiter regularly, clean and dry the joint with the utmost care, and plug as many holes as you can find seems to be the best way to start—and then, Good Luck!
Cockpit lockers
I’ve written about cockpit lockers before and, as someone once wisely said, the only way to avoid water ingress via cockpit lockers is to do away with them entirely. For most of us that’s not an option, so unless the designer and builder have planned for them, we’re going to have to come up with our own solution, usually based around neoprene strip or suitable gaskets, a wide range of which are available from the automotive world. We recently replaced some of our moulded seals with 1” flat neoprene glued to the underside of the lids, after having problems with the seals around 90° corners, and so far, so good—they seem to be working well.

The second thing that’s well worth looking at is the securing catches on the lids themselves (and the hinges, for that matter). Unless you can tom down the lids evenly on the seals and not too tight (which can damage the seals), there’s not much purpose in going to a lot of trouble with the seals.
The catches need to be positioned and adjusted correctly to do this, and need to be adjustable, good quality items that won’t easily come undone. And they need to be strong—it’s worth remembering that achieving a good seal is not their only function; in the event of a knockdown, there’s bound to be a chance that heavy items in the lockers will try to break free taking the lid with them.
I’ve seen very few yachts over the years with adequate tie-down attachments in any lockers—the sort of things that are easy to fit at the build stage, especially in a steel or aluminium yacht—but they are the sort of things that should be standard fitment on any boat with serious offshore pretensions. Tie downs and really hefty locker lid catches from the likes of Protex are the way to go.
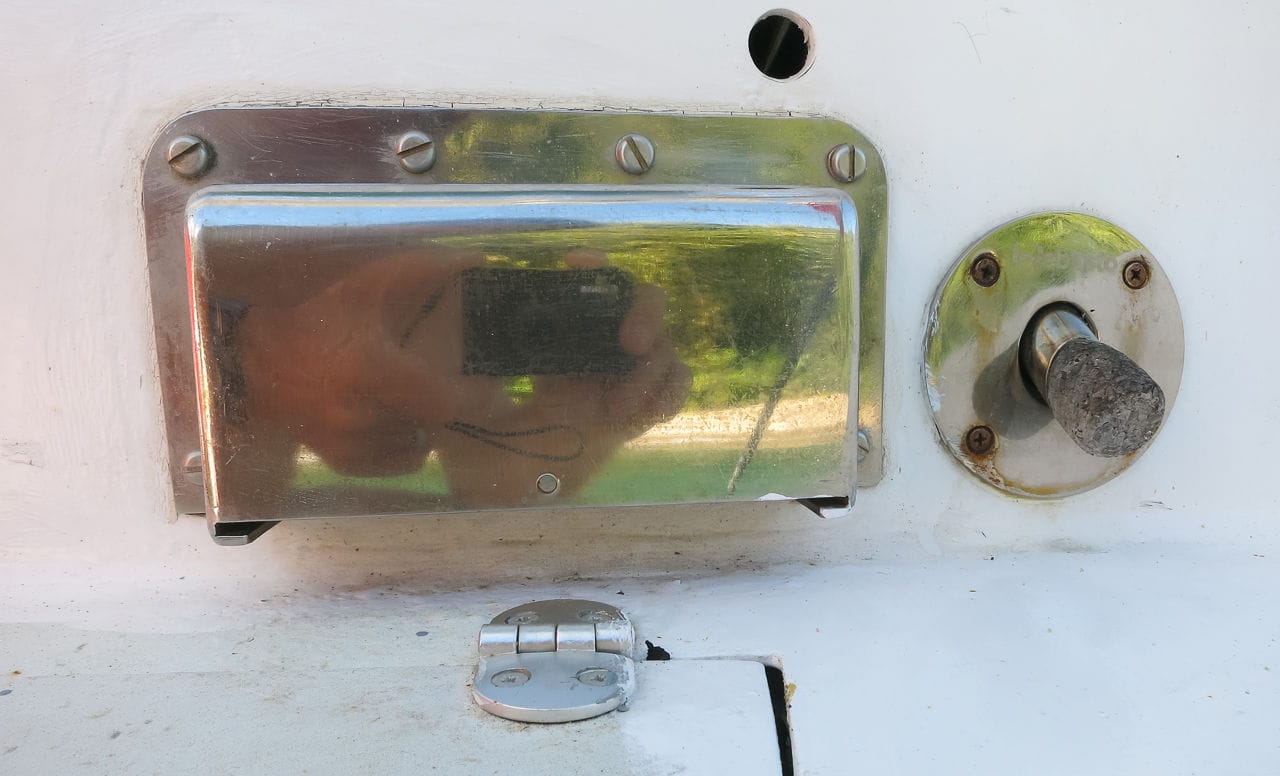
Through hulls above the waterline
With so much equipment aboard even relatively small boats these days, it’s no surprise that there are far more ‘holes’ in them than used to be the case. Think about it—on Pèlerin we have bilge pump exits (x 3), fuel vents (x 2), watermaker outlet (x 1), water tank overflows (x 2), and that’s on a pretty simple boat!
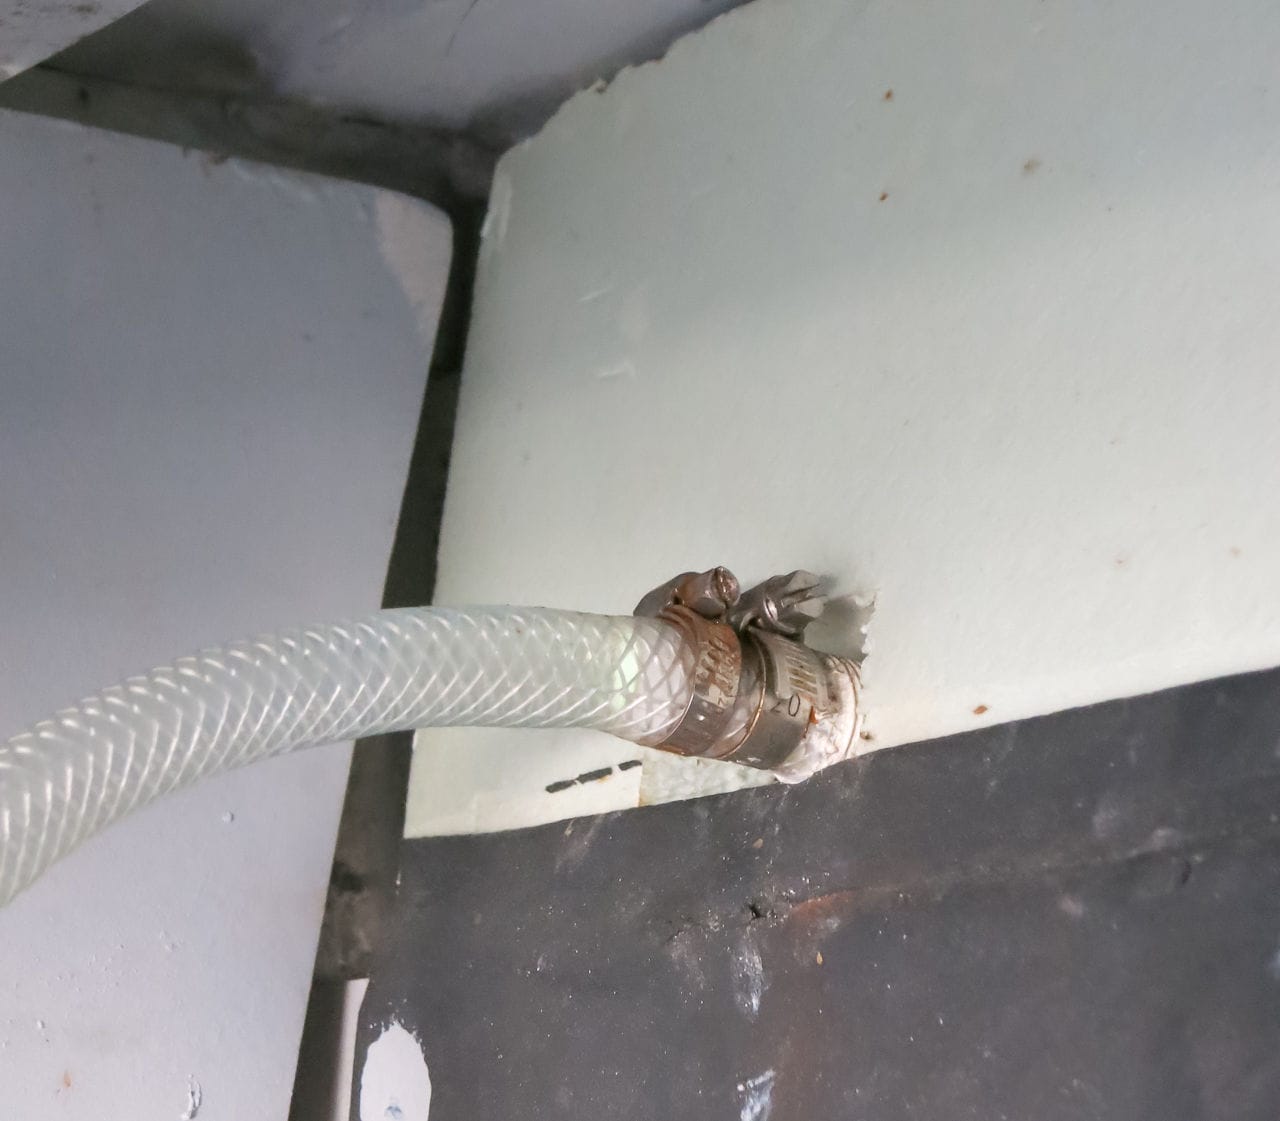
In my view, holes above the waterline should be treated largely the same as those below the waterline. That means seacocks in at least some cases (particularly for large diameter through hulls), good quality pipe, and double hose clips. And they should be placed as close up under the deck as possible, so that in the event of a failure the results are far less likely to be catastrophic. I know that can be inconvenient in other ways (bilge pump pipes that drain small quantities back into the bilge, for example) but that’s a small price to pay for safety and watertight integrity.
And at build, or if you’re fitting new equipment to an existing boat, it pays to plan very carefully where you site such through hulls. It’s not uncommon to see tradesmen just looking for the easiest possible site in terms of installation, and if that’s low down in a cockpit locker, then so be it. But if there’s a worst possible place to put it, then that’s it, right where your shiny new plastic through hull is vulnerable to 50lbs of unsecured toolbag crashing up and down on it in a gale. Mount them high and in as sheltered a position as possible, and you’ll be far better off.
Engine room ventilators
All diesel engines need adequate amounts of air to operate efficiently, especially turbo engines. On some older boats you might get away with the engine drawing air from the bilges, but most likely you’ll need some form of external aperture to allow air to enter (and leave) the engine compartment. And where air can get in, so can water.
On Pèlerin the engine ventilator inlet and outlet are mounted on the transom, and so are very vulnerable to water ingress from even a modest wave hitting the transom, so we had a protective cowl fabricated, with a storm lid that can be slid into place and secured if necessary.
In an emergency the engine will still run with the cap in place (we’ve checked), although we’d prefer not to run it for any extended period in that mode. If your ventilators are similarly vulnerable, it’s well worth looking at ways to make them less so, way before heading off on a long open water voyage.
And while we’re on the subject of engines, one place that you really don’t want water entering is via the fuel tank vents, yet these are often mounted in very vulnerable positions, on the hull sides in particular. Ideally these should be mounted in a sheltered position, perhaps inside a cockpit coaming with a short swan neck tube to keep them as far above water as possible.
But, as in so many cases, they also do duty as overflow pipes for the fuel tank(s), that would take some real planning. But seawater contaminating your fuel supply is a real possibility in bad weather with poorly designed and mounted pipes, with potentially disastrous consequences, so surely there’s a better way? And in these environmentally conscious days, why are we still designing boats with fuel overflows that go straight into the ocean?
iPads, screens, etc.
I’ve noticed an increasing trend towards the installation of ‘entertainment media’ in the cockpit of yachts, in some cases achieved by cutting holes in bulkheads to mount them in an aesthetically pleasing and sonically effective position. The problem is that many of these devices are very flimsy, and not designed to keep water out at all, and so are vulnerable to the first decent wave that comes aboard if they are mounted in an exposed position.
It’s also worth considering, especially with a GRP boat, that cutting holes where they don’t belong will do nothing for the structural integrity of the moulding in what can be a significantly stressed area (what would the designer say?).
If you must have such items in the cockpit, they should be mounted high and in ways that don’t compromise the structure or watertight integrity of the boat—period. And remember that in today’s world many people who are employed to fit such items are not boat builders or experienced sailors, and may have no concept of what the sea can—and will—do. You do know, though, so make sure you make your needs clear.
Colin,
I suspect there are no responses so far because you have not only said it all, but you said it well.
Dick Stevenson, s/v Alchemy
Hi Dick
you’re too kind!
Glad you liked it.
Kindest regards
Colin
If I could add a couple of things. Our experience of dorades has not been so favourable and we eventually came across Air-Only vents. Despite taking green water across the deck (submerging the vent) on our way north nothing came below, even though the vent was wide open. We have now fitted three and are extremely pleased that we get ventilation without water.
http://www.air-onlyventilators.com/
Secondly, plagued with leaks around the main we used a spray can of builders foam to create a watertight seal. Works perfectly. Not sure about the amount of work required to slice it away when next we remove the mast but at least we’re dry below decks…
Mick and Bee
Hi Mick and Bee
As I mentioned in the piece, not all dorades work as well – the devil, as always, is in the detail.
Good to hear of your experience with the Air-Only vents. As I’m sure we’re all aware, there have long been vents that look superficially the same as these, but looking at their website it’s clear that there has been a lot more thought that has gone into these new style vents.
Good where space is limited, and not vulnerable to damage from flying ropes, pretty much leak-proof they look to have a lot to recommend them. My only question would be on just how much air they can allow to pass, a place where the good old dorade has major advantage over all other types of vents in my experience.
Thanks for bringing them to our attention.
Kind regards
Colin
Hi Colin,
I hear you on the difficulties of sealing a keel stepped mast at the partners and totally agree that while Spartite is a good replacement for wooden chocks the company’s claims of water tightness are, shall we say, optimistic.
However, for the last 15 years we have been using custom mast gaiters from Waterboot and since then we have yet to get a drop of water below. More here.
Keel stepped mast sealing and draining. I live on a 1982 Beneteau FIRST 42S . These boats are noted for their wet bilges. My bilge is for the most part dry. For 4 reasons.
1. Coated wetsuit rubber gator I made myself for $20.
2. All the wires in the mast have a loop below the exit hole so water doesn’t run down the wire and out the exit hole and into the bilge.
3. 732 sealant around mast at step. And
4. I drilled a hole, at an angle with an angle drill, in the mast step into the interior of the mast. I then ran a 1/2″ hose into the hole, lubricated with 732 so it was flush with the floor of the mast step. The other end of the hose to the sump. Voila, dry bilge.
I basically made a tank that self drains.
Keep up the amazing job.
Dennis Giraud
Vancouver , BC
Hi Dennis
nice solution to a perennial problem. I’ve seen various attempts to form some sort of internal ‘dam’ to stop water gathering in the bottom of the mast, so that it can be diverted out in a controlled manner, with varying degrees of success. It sound like you’ve cracked it, so thanks for the tip.
Best wishes
Colin
Hi John
I’ve seen apparently good results with Spartite, but in conjunction with a boot. The more stable fitment certainly seems to make for a good seal.
Waterboot is new to me, but certainly looks good.
Kind regards
Colin