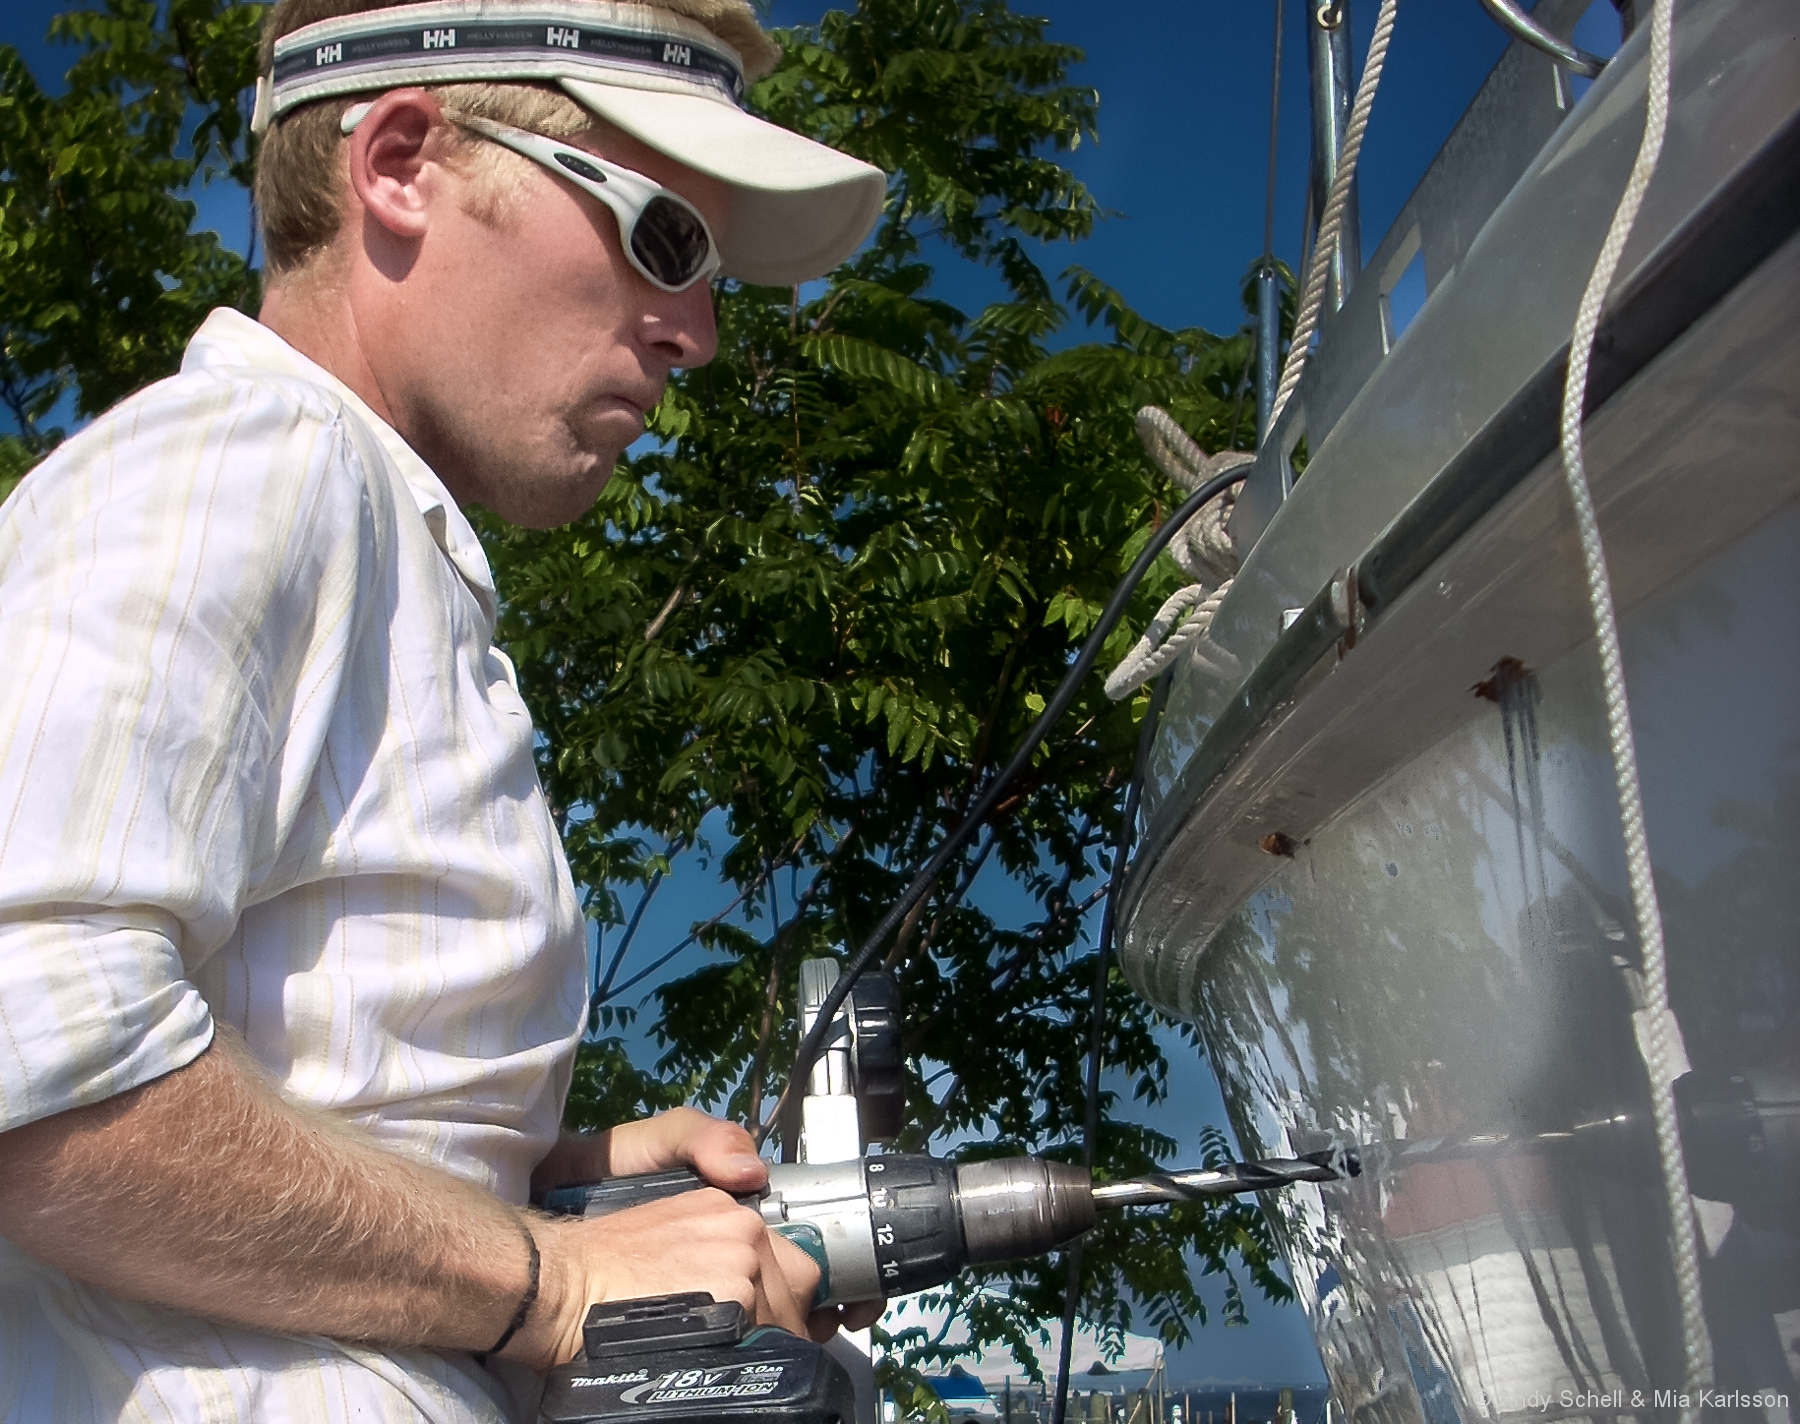
Our beautiful boat Isbjorn is hauled out at Antigua Slipway getting her steering system re-built. The whole project, which is probably going to cost north of $10,000 (update: it’s complete, and the final bill is $14,000), inspired me to write about my refit experiences.
Isbjorn is the third old boat I’ve had the “pleasure” of refitting and I’ve learned the hard way what it takes to buy and refit an old boat for long-distance ocean sailing.
(For the details on all three refits see my previous chapters in this Online Book.)
To be clear, I love the concept—refits have elements of history, creativity and recycling, all things I value in life—but there are unexpected realities that I will explain in this post to help those considering refitting an old boat.
I could not agree more about survey results. We just bought a 1988 Tartan 37 and the surveyor missed so many details (and shame on me for not picking up on at least some of them..); a toasted battery bank (4 yr old Lifeline AGM’s x 4) probably the fault of a bad Xantrex Truecharge 40+ charger, masthead tricolor was full of rusty water, broken wind transducer and a bunch of other minor quibbles… BUT- the boat is just bomb proof in almost every other regard. The previous owner had gone through and did some wonderful upgrades.
And another great example of an S&S design! Good choice! One of my best friends had an S&S Tartan 37 on the Bay for a few years and we both loved it. Does yours have the centerboard? I know they only made a few with a deep keel…
A good summation, Andy, and it’s nice to see the old Albergs appreciated for their qualities. I think you’ve got to a sweet spot with your Swan, however: they are structurally excellent and amenable to alteration and access, which is a problem I find with newer boats with pan-type and/or modular structure. Let’s face it, whether you are doing 12 or 7 knots across oceans, you want “bomb-proof” and few boats are built for that today, because few people are doing that today. It has occured to me that the reason older boats are more sea-kindly is not just because “fibreglass was new so they were over-engineered” but because they were expected to get their owners home in one piece: there was no big red button, very limited SAR resources and no means by which help could be requested, never mind delivered. So boats were built stoutly to raise the odds of them being seen on the other side of the ocean, still the best endorsement a design can have.
Marc, you make a good point about the Swan in particular – the joke is that ‘a Swan can be taken apart with a screwdriver!’ It’s a joke, but it’s also true. EVERYTHING is accessible. When we replaced the chainplates, you couldn’t even see them at first – but it was just a matter of removing some interior trim, and bang, all the bolts are there, nothing is buried in fiberglass, etc. It makes maintenance and improvements that much easier.
They are not the only boat like that of course. My dad’s Wauquiez (which resembles a Swan in design, and which we jokingly referred to as ‘the poor-man’s Swan’) is similarly built and easy to ‘unbuild.’ Some boats are notoriously NOT built in this way. A friend in Portugal is ‘rebuilding’ a 30′ Van de Stadt design. The chainplates were buried in fiberglass, and that’s just one example. Luis loves the work, so it’s not issue for him, but it’s a LOT of work.
So look for stuff like that in older boats – how easy are they to take apart? Something quite obvious when you start looking for it, but completely hidden if you don’t know where to look.
I think we need to be careful that we don’t wax lyrical about these old boats. I am certainly a lover of old, strong, GRP as I have cruised extensively in a Rival 41C. The hard fact is that for £60k to £80k I can buy a damn good modern hull yacht, in excellent condition and strong enough to sail anywhere. Today, you can read about Hi Latitude adventures in modern GRP cruisers as well as the ubiquitous Atlantic circuit. The facts are clear – statistically sailing offshore in a modern yacht is safe and sound: crushing, collapsing, sinking and snapping just don’t feature in the statistics. Where they do you find things like extreme designs, poor maintenance, not manufacturer recall stuff. Modern hull form and construction methods offer reliable, low cost access to sailing and many also have that row away factor as well.
Why do I like my old Rival? Well, for sure I know she is strong because I sailed one for 5 years in a professional capacity all over the UK and EU and she never let me down once from F10 to bumping over the Goodwin Sands, to drying her out on her beam, 10s of thousands of hard earned coastal miles. Mainly though, after a long search for a boat to buy, I kept coming back to the Rival qualities and robustness, the clincher though was when my good wife stepped on the Rival and later she said, ‘I like the way she doesn’t tip when I step on her gunwale.’, thats not a reflection on the redoubtable lady, I’ll let you wonder which I mean.
Surveyors, don’t get me started, a lunch time lift, hold and launch. In pouring rain the surveyor wielded his moisture meter and reported that she had hi-levels of moisture – no shit Sherlock. No account was taken of any water that may have been inside her, the environmental factors, the fact that she had just been lifted out etc. He also missed a loose engine mount, which nearly resulted in me losing the yachts on a lee shore in F7 – F9 when the shaft coupling sheared on her short delivery trip between marinas. I always sail with the anchor ready to be deployed in coastal waters and it saved my bacon. The look on my brothers face as I smartly went to the bow and launched the anchor as he was preparing fenders. I had specifically asked for an engine survey.
I stated this before, but I think we are seeing the beginnings of these older GRP hulls being sought and refurbished, like Classic Motor Bikes, many will pass through the hands of good intentions, few will make it to a concours prize.
As for my old lady, she has reached the point now where she is worn out enough to warrant a refit (not replacement I may add). I have done the big stuff so she is off to a boat builders to have her joinery finished, if I do it, it will look, well, like I did it. She doesn’t deserve that, she needs skilled hands, an I am talking about my Rival 🙂
I do wonder the value of the moisture meter at all. My boat was supposedly quite wet (but had just been pulled out of the water). 3 years later the decks are super solid, core is generally dry as a bone when I drill into it. There is an area that pegged the meter, but that’s also super spongy under foot and obviously needs to be replaced.
The point of metering the hull of a 1963 Pearson with no core remains a mystery to me.
I wish the surveyor had spent more time looking over the systems and specifically the mast which (ouch!) ended up getting replaced.
That said he said “don’t put a lot of money into this boat”, which is exactly what I ended up doing. Duh. Sure learned a lot of painful lessons along the way. The boat is getting nice though and I will be a lot smarter with the next boat if there is one.
Paul,
They have their uses and are good indicators of moisture content where moisture should not exist. The moisture content is very low and GRP that has been dried will not show any weight decrease that is detectable. They key point is what happens to the level over time and good GRP that shows hi moisture but say 2 weeks later is low (after sitting on the hard) is good. If it’s still has the same readings some weeks or months later then the moisture is trapped because it has reacted with other chemicals and the molecules of the new compound are too big to get continue their journey through. The logic is that if the water gets in, it can get out again unless some thing changes to trap it. And that is the basis of one of the biggest cons in marine surveying, in my humble opinion. Of course, it is not that simple. Modern GRP is prepared and protected so that it is far less permeable than old GRP and one would expect a modern hull that has just been lifted to have very little moisture. In addition water that is in the bilges, sitting on stringers, or even in a bottle pressed against the other side of the hull will show up as high moisture readings. I have checked the bottle issue on my own boat with Tramex meter. The GRP in my cockpit coaming is about 10mm thick around the cave locker and dry as a bone, zero moisture reading. If I place a plastic water bottle inside the locker and press it against the GRP and measure the same spot outside the locker, the meter goes off the scale. In my opinion a good ultrasound survey of GRP is far better at detecting structural weaknesses in GRP, but greater competency to use an ultrasound meter and interpret the results.
I’m sure that’s true Alastair but for a survey on an old, thick boat, to spend 2 hours sounding the hull in a 4 hour survey seems like a problem of priorities. I ended up having manky old rigging that needed to be replaced shortly afterwards, among a number of other very expensive repairs that had not much to do with the moisture, all missed.
I’d still probably pay for a survey for the next boat but would spend a lot more time crawling around myself trying to rule the boat out.
Paul
Hi Andy. Nice reading your accounts of refitting boats very properly.
Your observations on cost are of course not exaggerated. I just though it might be worth considering how this actually does compare to a new boat. That calc has been done well by John here on AAC, but just a few related thoughts….
A new boat has a price tag that is never complete. Mostly one needs to add 10 to 20 percent in sails and equipment. The same day that you took it home, you can sell it, but you’ll loose maybe 20 percent. Expensive day. As time passes, the value will drop gradually slower until it’s only depending on the apparent quality of your boat. A good boat might not drop further in price. Your boat might at This point be a good or bad buy, but it has cost you the price you bought it for, minus what you sold it for, plus what you spent maintaining and repairing it. The maintenance and repair budget for å spanking new boat should be close to zero, but never is.
As it gains a very few years, repairs normally are just as frequent as on a much older boat. On many new boats, systems are so complex or fragile that maintenance and repair costs are way higher than on an older boat that gets to just as nice spots and gets just as much sun. 🙂
There are plenty of badly designed and built older boats, but they are normally quite easy to spot. The newer similar boats still hide their shit behind shiny surfaces. There is no doubt that many builders have reduced some quality elements. Some of them important for safety. Rudders have started to fail too frequently or their bearing support breaks, sinking the boat since there is also no watertight bulkhead. (I won’t name wharfs, but several ones qualify). Keels fall off, even on Oysters. Core structure elements are some times made from non lasting materials.
I think the conclusion is that old or new, it will either way cast a lot. If you know what you’re doing, life is easier. 🙂 There are plenty of good new boats out there too. At the end of the line, enjoy your boat, whatever it is. Optimists and pessimists are probably right and wrong about the same number of times, but who has the best life? 🙂
Your refit wrap-up comments are wonderfully cogent, but few of us possess the vision and skills necessary to make the myriad decisions that the process entails. I lucked out on a first boat with a Cape Dory 31. She taught me a lot, her parting lesson being that I needed a bigger faster boat for longer passages. JBoats are thought of in club racing contexts, but the J race/cruisers in the 40-53 range will join the ranks of classic cruisers. My J42 can be taken apart with a screwdriver, is strong and fast and easy on the eyes.
Minimally equipped: I agree. I can not begin to estimate how much of my time involved removing and restoring poorly done changes. Maybe I’m just a little picky…and the more I get back to the original, the more appreciation I have.
I absolutely think this is true. When I looked at my boat it had a lot of accoutrements of offshore voyaging. Wind vane, big grabrails at the companionway, all lines led back to the cockpit.
I slowly realized though that the vane didn’t work, the grabrails needed to be removed and that all that rigging was old and mostly broken.
If I had bought a virgin boat in perfect condition I would have saved all the work of removing that stuff. And the heartache too.
One thing: I know costs are exponential, but certain costs are fixed. You could have a large boat with simple systems, and if you did the costs would be the same. A mid-sized GPS or a nice VHF costs the same when you put it in a small boat or a large boat.
Hi Andy,
I have enjoyed your article series on refits and agree with pretty much all your conclusions and would have done many things in a similar way.
There is one thing I’d like to put into perspective though, also after reading some of the comments here. Surveyors…. They fall in the category of bankers, car salesmen, realtors and what else. You can’t go without, but you never know if you can trust them.
I completely agree with your point that you should consider a survey useless, and mere a formality for insurance/bank. Having said that, I want to ask the question what do you expect? A proper survey takes, depending on the boat size and complexity, 3 to 7 full days. It also includes sailing the boat under engine and sail in various sea states. In the shipbuilding world these are called dock trials and sea trials. Commercial vessels do these when new and before handed over to the owner, and are repeated every 5 years for class (insurance) surveys. That is a thorough and time consuming job that not many surveyors are capable of, but also one that costs several thousands of dollars, needs multiple visits form the surveyor and includes taking the boat in and out of the water.
But now back to reality. I’ve done a lot of surveys myself, and for the amount of money that people are willing to pay for a survey, you can’t afford to spend more than 3-4 hours on a boat, plus a couple of hours in the office to satisfy the paperwork for bank/underwriter. Boats that are for sale are in nine out of ten cases de-commissioned and often on dry land. So all you can do is a visual inspection, and there are so many things that can not be discovered by doing a visual only. Even a good and thorough visual, just to see if ‘the basics’ are sound, takes more than 3 to 4 hours, forget about the systems!
Take the engine example from one of the comments. Looking at an engine can’t tell you anything and is in my opinion a complete waste of time. The only way to make a a usable judgement on an engine is by using it, and with using it I mean to it’s full capacity for at least an hour. There are too many things that somebody could cover up before a visual engine inspection. A leaking gasket can be masked by cleaning the engine. Oil consumption can be covered up by adding the right amount of oil. Excessive rust in the engine can be covered up by replacing the coolant, a dirty tank and fuel lines can be covered up by placing a new filter and some clean diesel in the filter glass. The example of a sheared off engine mount is also something that in most cases cannot be discovered unless you’re lifting the engine off it’s mounts, or heel the boat over while running the engine hard.
There are, on the other hand, also some very valid examples here of things that are done by people that call themselves surveyors but apparently don’t deserve that title judging by the examples, those are the people you need to watch out for.
So all in all, a surveyor has done his job well if he picked up on roughly half of everything that is wrong with a boat, given that he does a survey in the traditional means of the word in the yachting industry. If you want a surveyor to do a full inspection, and find everything that is wrong with a boat, expect to pay somewhere around 3 to 8K for the survey.
It is possible to test a boat in such a way that 99% of things that are wrong are discovered in less than a week of testing, if the testing is done in the proper way. It could give a very useful insight an possibly save a lot of money down the road. But I’ve never heart of anybody going that route prior to purchasing a boat. I can also see that an owner of a boat would not be happy when his or her boat is ‘tested’ to find the weak spots.
So back to my original question, what do you expect from a surveyor?
(Didn’t John write a post on yacht surveys?)
Hi Andy,
At some point, in your excellent articles, you mention thinking about heat for the boat. I just posted a field report of our recent installation/ use etc for a Refleks stove/heater that may be of interest: https://www.morganscloud.com/2009/12/01/an-analysis-of-boat-heating-systems/comment-page-1/#comment-255532.
Dick Stevenson, s/v Alchemy
Thanks Dick, much appreciated!
Hello Andy,
Thanks for these really good articles on the refits. Lots of good learing experience. Being in the final stages of completing one myself -and casting off – I can attest to your experience.
Here is a comment and a question. First the comment;
As for heating, I have dual systems onboard;
– a complicated webasto coolant based central heading system. When it works, which is nearly alway, provides a lovely heat, including a towel dryer in the shower/toilet.
– the other system is dead simple – a Reflex drip fed diesel stove with a hot plate on top. Works alway, does not require electricity, is quiet and can be used to boil a tea pot or heat a meal if all other systems are down. Recommendable! It is gravity fed from a plastic 12l tank located in a cupboard above the stove. The diesel return line from the engine goes via this tank. When the tank is filled up, there is an overflow line that takes the diesel back to the main tank. This setup servers two purposes; ability to fill the tank without and additional pumping system and ensuring that the diesel that lands in the stove is clean. It has been through two filters before passing into the main engine diesel pump.
… and now for the question;
you speak warmly about and have experience from using dyneema for rigging purposes. I am in the process of installing jib preventers from the end of the mainsail boom. I do not like drilling holes in the boom – in this case to fasten padeyes for the boom end of the preventers. What about making a dyneema loop at the boom end and use this as connection point for the preventer lines going forward, and in this case how you would construct and rig it?
Any thoughts or comments are welcome.
Greeetings,
Petter
Hi Petter,
Andy is at sea, so not available for a while.
On the preventer, I think that using a few turns of Dynema to secure the preventer will work great. I used pad eyes on my system, but this change would be easy and work well. See this post: https://www.morganscloud.com/2014/03/13/rigging-a-proper-preventer-part-2/ for our proven preventer system. Also check the comments to said post for some ideas on using Dynema to attach.
That was one fast response, John. Thanks.
I have seen the setup with padeyes with washers or a backing plate. This would probably be most straightforward solution, but would entail holes, fasteners and possible corrosion. So maybe dyneema may be a way around. I could splice a loop. Alternatively it could be knotted. Do you have any thoughts of knots that you would deem secure on a dyneema loops, using 12 strand uncovered cord?
– p
Hi, Petter and John.
I should have read the post John linked to before I answer here, but have to admit I haven’t, yet. Still a few words:
On traditional boats with gaff rigs etc, shrouds and stays were often attached with a spliced loop just around the mast and lashings in the other end. This principle has returned to most of the extreme racing classes, like big ocean-going multihulls, open 60 class etc. They do use high-tech modern ropes, of course, but otherwise much similar.
The reason is that it’s much lighter, stronger and more reliable than the hardware alternative. You can use knots with Dyneema etc, but modern fibres are slippery and a knot will reduce the strength due to sharp angles and uneven fibre loads. An eye splice is much better and also looks better. Make the eye big enough to fit around two such booms. On the boom you need something to stop the eye from sliding inwards on the boom or fall off the end. Make sure you have no sharp edges.
One more thing:
You may want to put some sort of sleeve on the Dyneema in the eye of the splice to protect it from wear. It’s not too vulnerable, but a sleeve will still help. The sleeve of another rope is useful.
Thanks to both Stein and John for constructive ideas and also providing the right section to dig for in-depth info. Have decided to go for a dyneema loop at the boom end as preventer line anchor and lash it to something to stop it from sliding off or forward on the boom.
Greetings!
Hi Petter,
For info, my system is:
8mm threaded rod through the Boom, encased in 10mm Aluminium Tube.
The tube projects a couple of mm beyond the Boom Wall on each side.
Eye ( or Ring) nuts either side of Boom, screwed onto threaded rod.
Wedge-shaped “washers” of UHMW PE under each nut to allow for curve in Boom.
All stainless is A4.
Threaded rod was copiously covered in Duralac before inserting into Alu Tube.
Eye nuts are fixed with Loctite high strength one side and with mid strength the other. My experience with high strength is that a hacksaw is just about the only Release mechanism. Mid strength will usually budge with a bit of heat.
Regards
Bill
Hi Stein and all,
A really effective and easy chafe protection to slip over lines is tubular webbing.
Dick Stevenson, s/v Alchemy
Petter, Bill, & Stein,
One consideration that supports a piece of rope around the boom end for a preventer belay over a piece of protruding hardware is which will be kinder to one’s head when the boom end hits it. Mine is tied around the boom end and is kept from migrating by being rove through the outhaul bale.
Dick Stevenson, s/v Alchemy
I’ve used old firehose given to me by old firemen.
I don’t have a reference but I believe I’ve read a number of places that using sealed rubber hose for chafe protection can cause the rope to overheat and fail. I use burlap from the fabric store, many layers.
Hi Paul,
You are absolutely right. Many boats have been lost in high winds off moorings when their bridles protected by hose from chafe melted from cycle loading generated heat. Having said that, I don’t think that the problem would occur with Dynema since it stretches so little.
Best chafe protectors I have found: https://www.morganscloud.com/2010/12/09/chafe-pro-review/
Perhaps I should have added I cut it in a spiral and invert it and tie it down so that the hard-wearing fabric is on the inside. I mean, it’s free and I don’t do it when I’m not aboard.
In this application of a dyneema loop around the end of the boom for a preventer, I would focus on eliminating any sharp edges rather than chafe protection. Dyneema is much more chafe resistant than most of the options for protecting it (if you look at the latest and greatest in the commercial world, they basically use a dyneema sleeve as chafe protection). We have used it in several fairly demanding environments and have seen virtually no chafe.
Where chafe protection is a good idea, I generally use tubular webbing for light duty applications and the outer wall of double wall fire hose for heavy duty ones. Both of these options allow water to penetrate helping eliminate heat buildup. I think that John is probably right about dyneema not having a lot of issues with heat buildup due to cyclical loading as there is virtually no movement but it is not resistant to a lot of heat if there is another source.
Eric
Hi Andy – I have a Duncanson 35 (similar to an S&S) and am looking to redo some of the internal woodwork, any suggestions on materials other than wood/ply that are hardy and low maintaince?
Hi Paul,
For interior work, not sure why you wouldn’t want to use wood. Once it’s installed and finished, there isn’t much maintenance – a lot of older boats still have original varnish in some cases. Beyond that, I can’t really comment, as I don’t have much experience besides the basic marine ply and white oak, etc.
Andy
Thanks Andy,
I suppose I am just being lazzy and sussing out if there might have been other products that dont need ‘finishing’ or painting and can take a battering, as I am not the best maintainer, more a user!
Hi Paul,
I am totally with you on boat maintenance! If you look into the Euro charter fleets with their high usage profiles, need for low maintenance/downtime, but also need to continue to look “like new” for 5 years, and “near new” for 10 years, you may get some ideas. The fleet owners nearly always specify melamine (or similar) coated boards with faux wood grain finishing and edges. This can be heavy compared with ply but is far more durable against scratching and does not require much finishing.
They also find ways of edging without wooden capping, which gives the modern clean Ikea look to the interiors. It can make for a lot of sharpish edges and make the insides look more like a caravan, but “needs must when the lazy devil drives” eh?
The ergonomics are questionable for a yacht, the aesthetics a matter of taste, the economics undeniable (or they wouldn’t all do it) and the lasting qualities well proven over many thousands of charters by people who have no vested interest in the boat. All bets are off if you get a large ingress of water, but even then the manufacturers probably have a way of treating the reverse side of the board to prevent serious water damage. Go to any boat show on board the Euro fleets and pull up the bunk cushions and squabs, open cupboards and remove drawers. Those guys make a living from “lazy” (they call it efficiency I think) and “take a battering” (they call it durability).
cheers,
Rob
I have used melamine coated birch multiplex ply in my refit. It has melamine both sides, and only needs sealing on the edges. I have sealed with a mixture of teak edging or epoxy primer. The ply is WBP and void-free, and also economical. I still have a lot of teak and teak ply, but used the melamine coated ply to replace the nasty foam-backed headlining which was rotten. Using a system of 20 x 30 mm oak bearers, stuck with MS-polymer adhesive to GRP, and then screwing the ply sheets to the bearers with s/s screws and cup washers. The 20 mm void behind the ply sheets has been filled with expanded closed-cell foam panels as insulation, but also allows easy routing of cables. The cosmetic effect may not be to everyone´s taste, but it lightens below decks, is easy to keep clean, and to maintain. The work needed to remove the old headlining, and to clean the remains of the glue decided me that never again would this product of the devil find a place on my boat.
Regards,
Bill
Go it https://youtube.com/@sea4see … I will do again if less tan 40 years old!